Building a Modern Scandinavian-Style Backyard Studio: A Step-by-Step DIY Guide
By DwellingUnits Team on June 9, 2026
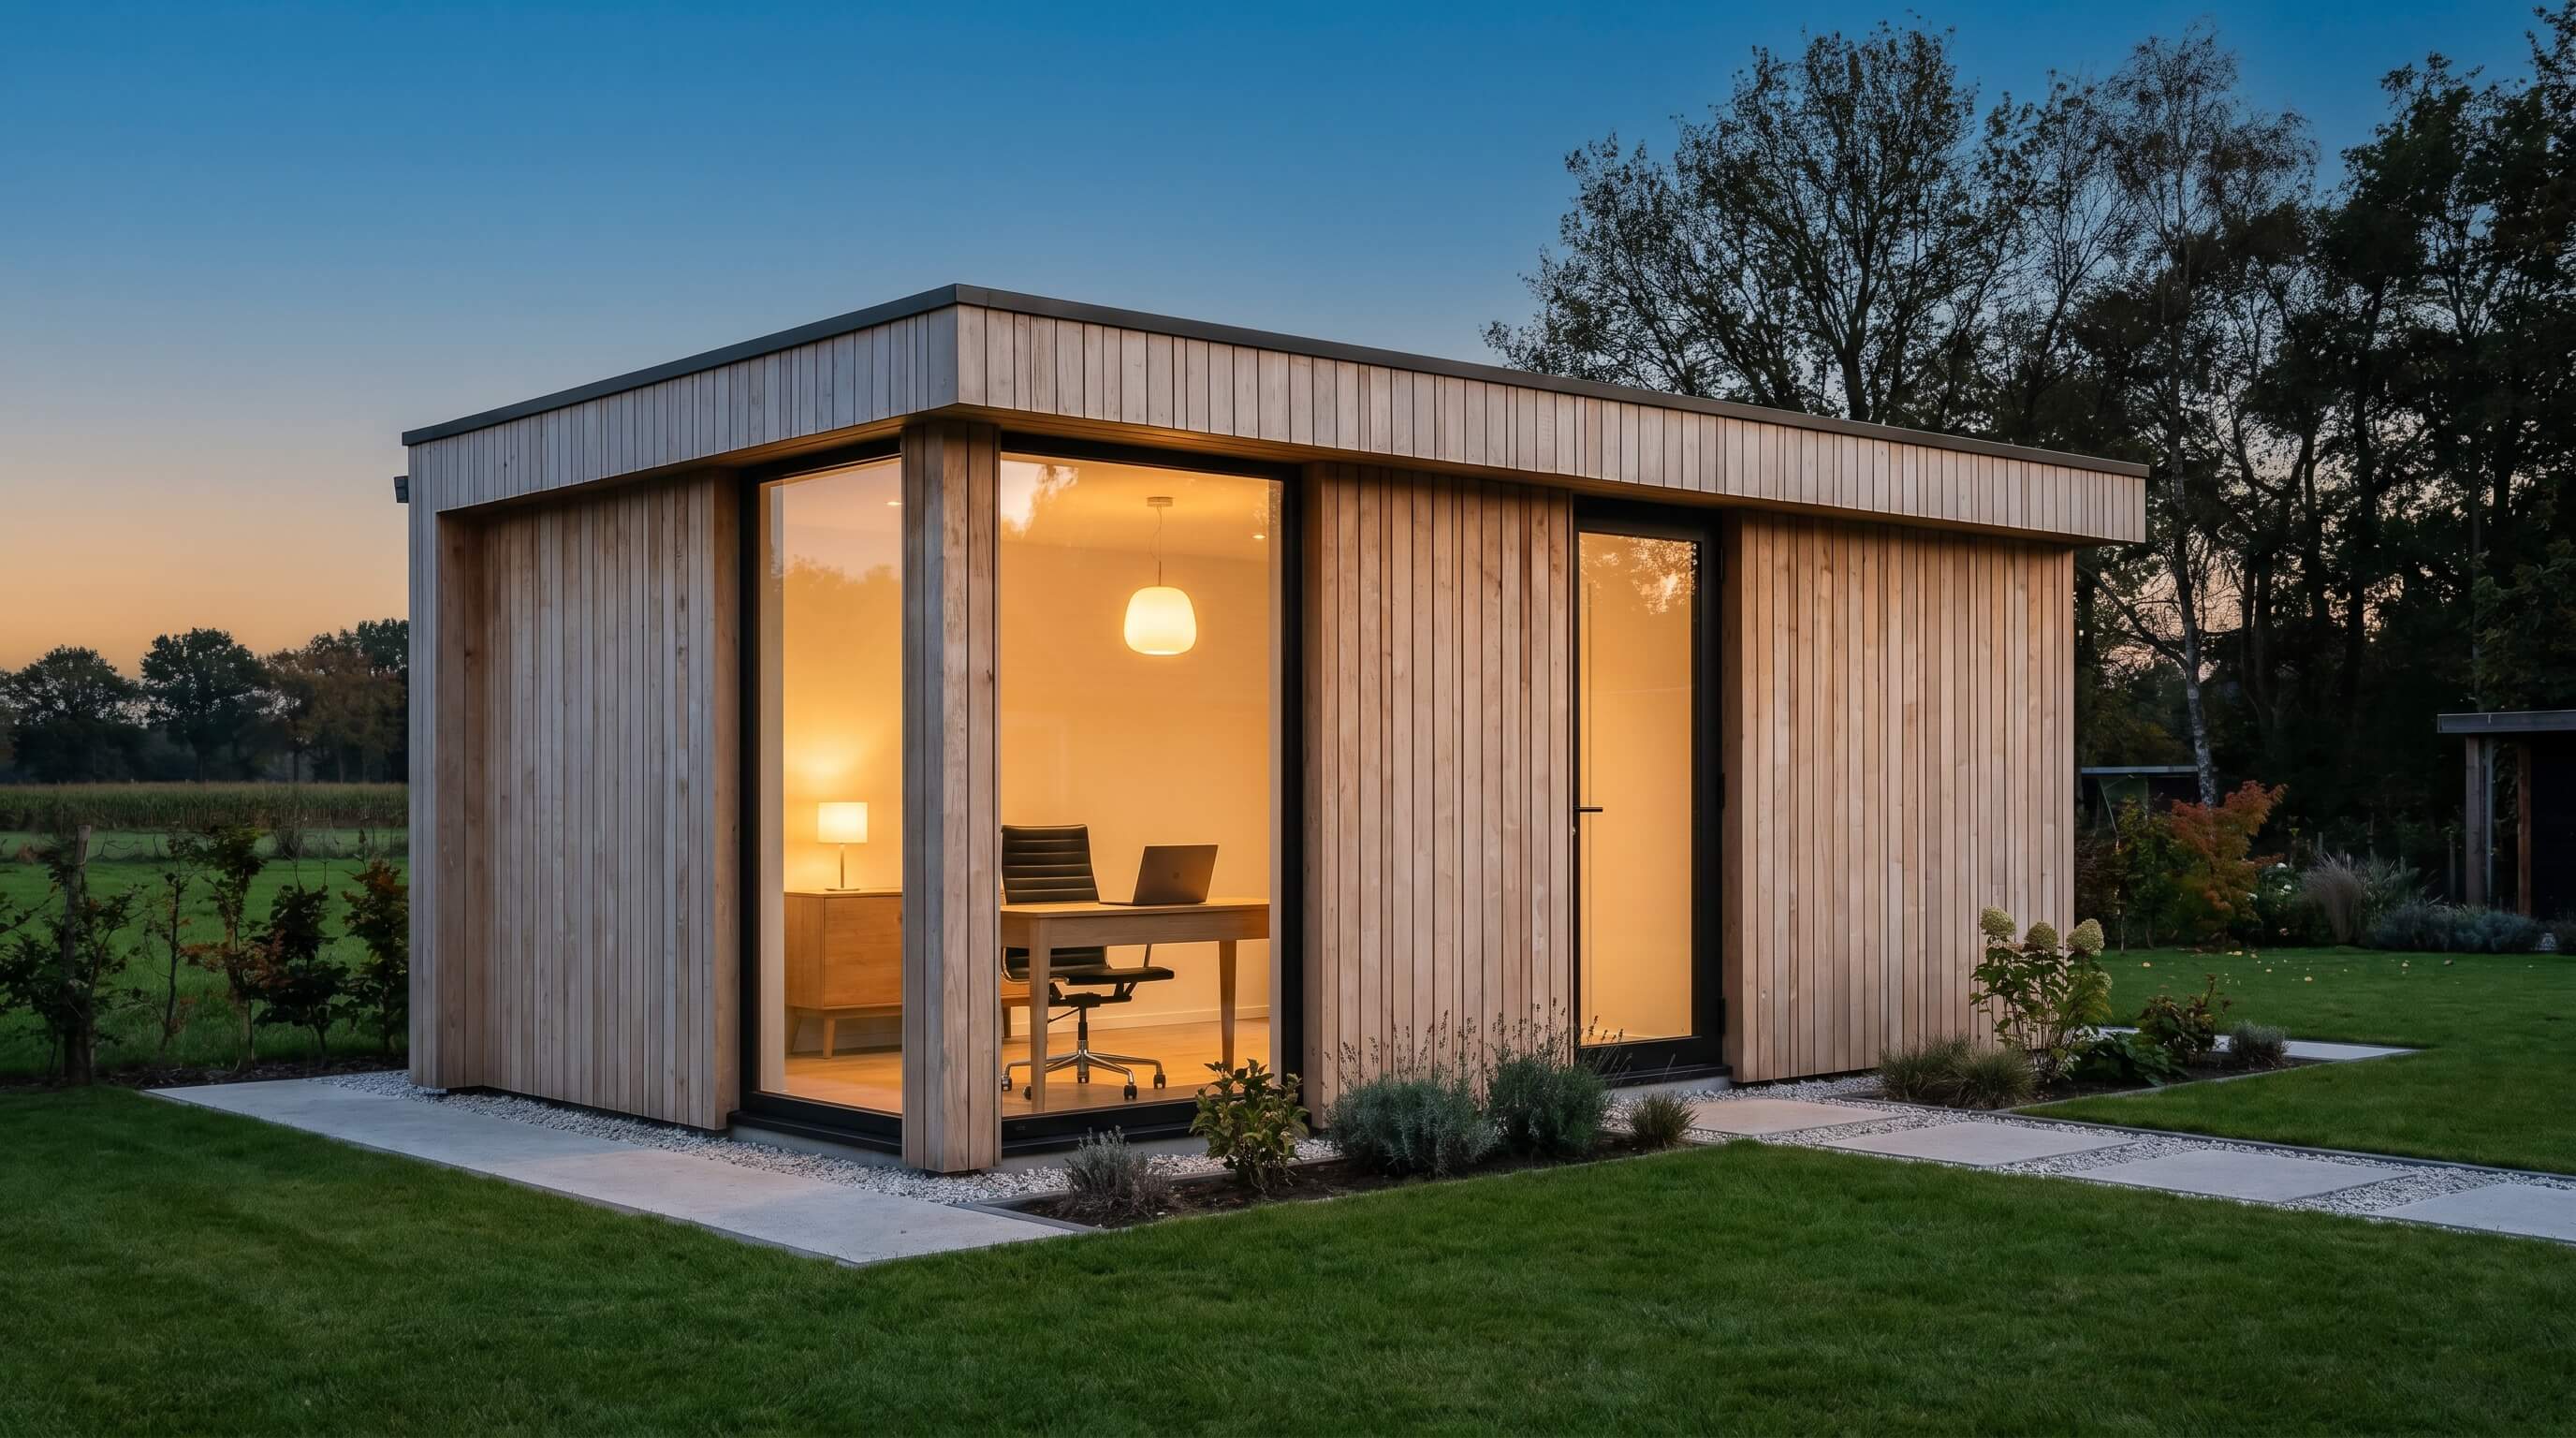
Introduction to Scandinavian Backyard Design
The Scandinavian design philosophy centers on three core principles: simplicity, functionality, and a deep connection to nature. When applied to a backyard studio, this translates into clean architectural lines, minimalist interior layouts, and the heavy use of natural materials like cedar, pine, and glass. Whether you intend to use this space as a distraction-free home office, a quiet art sanctuary, or a personal fitness retreat, building a Scandinavian-style studio is a highly rewarding DIY project that adds massive lifestyle and financial value to your home.
In this comprehensive guide, we will break down the entire construction sequence into actionable phases. We will also outline the strategic planning decisions required to build a highly insulated, weatherproof, and aesthetically magnificent structure without breaking the bank.
Phase 1: Planning, Permitting, and Foundation Setup
Every successful architectural project begins with proper ground preparation. In many parts of the United States, accessory structures measuring under 120 square feet do not require a building permit. However, zoning setbacks—which dictate how close you can build to your property lines—still apply. Always verify local municipal codes before ordering materials.
Once your site is selected, clearing vegetation and leveling the soil is critical. For a modern Scandinavian structure, the foundation must keep the framing dry and stable. A gravel pad combined with treated timber skids is a budget-friendly option, but setting deck blocks on pre-compacted gravel is the preferred approach for sloped sites. For a deeper analysis of your foundation options, check out our Shed Foundation Gravel vs. Concrete Guide.
Phase 2: Floor, Wall, and Roof Framing
Framing is where your Scandinavian studio takes shape. Standard wood platform framing (using 2x4 or 2x6 lumber) is the most reliable method for DIYers. Start by constructing the floor joist network, ensuring it is perfectly square by measuring diagonal corners. Insulate the floor cavity before laying down the tongue-and-groove subfloor panels.
When framing the walls, prioritize large window openings. Large, uninterrupted panes of glass are a hallmark of Nordic design, allowing natural light to flood the interior. For the roof, a modern single-pitch shed roof (monoslope) is significantly easier to frame than a traditional gable roof and fits the minimalist aesthetic perfectly. Make sure to apply a high-quality weather barrier or house wrap over the wall framing before installing your exterior siding panels.
Phase 3: Weatherproofing and Exterior Siding
To protect your framing from the elements, sheathing and weatherproofing are non-negotiable. Wrap the exterior walls in a breathable house wrap to keep wind-driven rain out while allowing interior moisture vapor to escape. For the siding, vertical wood cladding (such as ship-lap or tongue-and-groove cedar) creates the clean, vertical lines characteristic of Scandinavian cabins.
If you are on a tight budget, you can use modern composite siding stained in charcoal, deep black, or natural pine tones. These dark exterior colors contrast beautifully with light-toned interior wood, creating a striking contemporary silhouette against your garden landscape.
Phase 4: High-Efficiency Insulation and Climate Control
True Scandinavian design prioritizes comfort and energy efficiency. To make your backyard studio usable year-round, you must install comprehensive thermal insulation. Cut mineral wool or fiberglass batts to fit tightly between studs, avoiding any air gaps. Cover the insulation with a continuous vapor barrier to lock out moisture and drafts.
For heating and cooling, a mini-split system is the gold standard. These systems are whisper-quiet, incredibly energy-efficient, and preserve valuable wall space. To find the ideal climate control setup for your build, consult our detailed Best DIY Mini-Split AC Guide.
Phase 5: Electrical, Flooring, and Minimalist Finishes
Before closing up your walls with paneling, route your electrical lines safely. Planning your outlets and lighting placements early is key to keeping the interior clean and free of visible cords. If you plan to power your studio using clean energy, read our guide on DIY Shed Solar and Electrical Setup.
For the interior finish, avoid heavy drywall if you want an authentic cabin feel. Instead, install light-colored pine or birch plywood panels. These warm, light woods reflect natural light, making a small space feel remarkably open and spacious. Complete the build with durable, moisture-resistant flooring. To select the best material for your high-use space, explore our review of the Best Flooring Options for Backyard Sheds.
Conclusion and Next Steps
Building a Scandinavian backyard studio requires patience and precision, but the result is a beautiful, productive personal sanctuary that will serve you for decades. By executing the phases sequentially—foundation, framing, weatherproofing, and interior finishing—you will maintain complete control over your timeline and budget. Ready to map out your costs? Head back to our homepage calculator to generate a fully customized parts and pricing list for your project.